
We need to talk about backups.
I started a previous post about recovering my system, from trying out a Beta Operating System, with the following paraphrased lyric (from Baz Luhrmann’s Sunscreen)…
Do backups. If I could offer you only one tip for the future, backup would be it. The long-term benefits of backups have been proved by scientists, whereas the rest of my advice has no basis more reliable than my own meandering experience. I will dispense this advice now.
From my experience, most people just shrug, or assume some magic was working in the background when they go to recover from some disaster. Be it a phone taking a tumble, to a computer that just stops working (after a cup of tea got spilt).
They take a little effort to set up initially, but once done, you are generally good to until you need them. Ideally, you would check in on them sporadically to see if everything is still working, but typically, they will look after themselves if you are using some modern, and up to date, piece of software.
What I do is fairly straightforward.
- Local backup — external SDD connected to my computer.
- Cloud backup — iCloud (not a ‘true’ backup, but keeps you going)
- Off-site backup — cloud backup, I use Filen (EU based, very little privacy worries), but there are plenty to choose from.
It sounds like a mouthful, but setting up will not take long at all. These solutions tend to do all the heavy lifting for you. The thing that takes the longest time is for them to all run the first backup. The more data, the longer it is going to take initially. Then most backups after these are incremental, or they just back up what has changed since the last. So these tend to be much quicker. I will run my local and off-site backups daily, but depending on the importance of your work you may want hourly, or literally as you save your work.
On Linux, I swore by ‘back in time’ (AKA Deja Dup). It was a fantastic solution that came baked in to your standard Ubuntu release. It let you back up locally and even let you use services like Google Drive or Dropbox for your off-site solution. Simple, with enough options for most people.
Being on Mac, it is the same principle, just different names. When you first set up your Mac (or iPhone) you have also set you an Apple ID (Account), and connected your iCloud. The standard iCloud storage might not be enough to start using it as a full off-site solution, but can be easily upgraded per your needs.
That all said, I do not consider iCloud to be a true backup. It synchronises changes across all your devices, live. If you delete everything on one device, and empty your trash, that could very likely be it for all that data. A true backup solution is going to preserve a snapshot of your data (often many snapshots) that you can roll back to as needed.
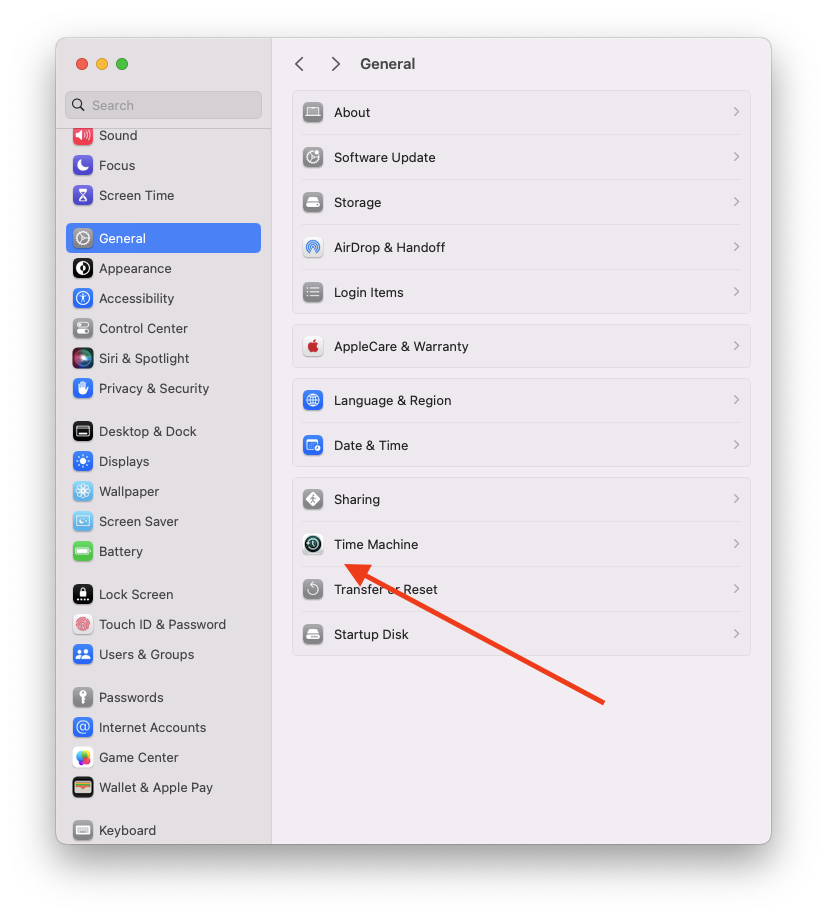
You see this when setting up Apple’s ‘Time Machine’. Have a look below to find Time Machine in your Mac Settings.
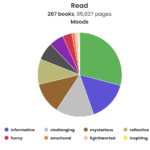
Then in the next image you can see the just how many snapshots of my data are kept.
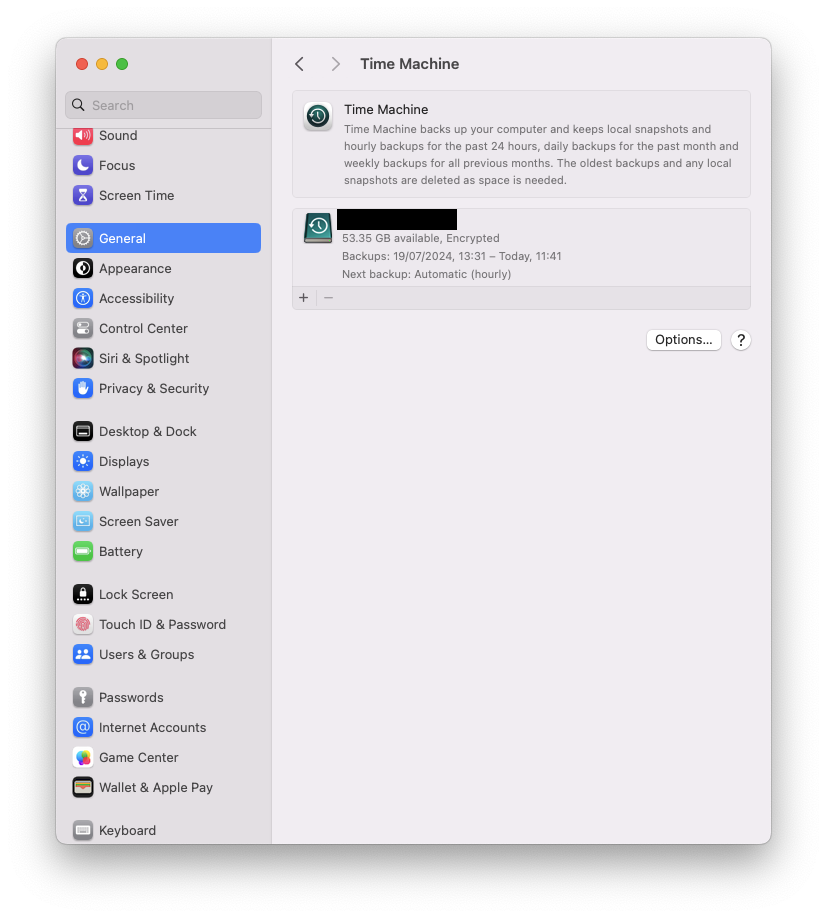
Time Machine is going to manage all this too going forward. It will keep them the maximum number of snapshots as your storage allows, then deletes the oldest as the space runs out. Simple, easy, setup once, and forget.
Most people a modern, well reviewed, 1 TB SSD off Amazon (or your preferred local retailer), will be all Time Machine needs. Some Mac’s only have USB-C sockets, not your older USB sockets. So keep that in mind, an adapter may be needed or maybe the SSD you are looking at will come with the correct cables. Just watch for that.
Great, you now have a fully functioning local backup solution. Note I say local. That’s because if something happens to your local storage (fire, flood, a well-meaning family member cleaning with bleach) then your data is once again lost to the ether.
This is where an off-site solution comes into play. For me, this means choosing an online cloud solution. I have used Filen for several years now and have been pleased with their service. They also have apps for your phone you can use, too, to do much of them same. That said, there are a multitude of other services to decide from, and you can just go after your preference. Here in the EU, I use the site European Alternatives to help me find EU-based services. You can just go straight to their European file hosting services by clicking here.
This is useful if you have concerns about what a service may be doing with the data you are storing with them. An internet search with your favourite privacy respecting search engine (I suggest DuckDuckGo) will find you alternatives and tech reviews.
Setting up Filen is, again, very straightforward.
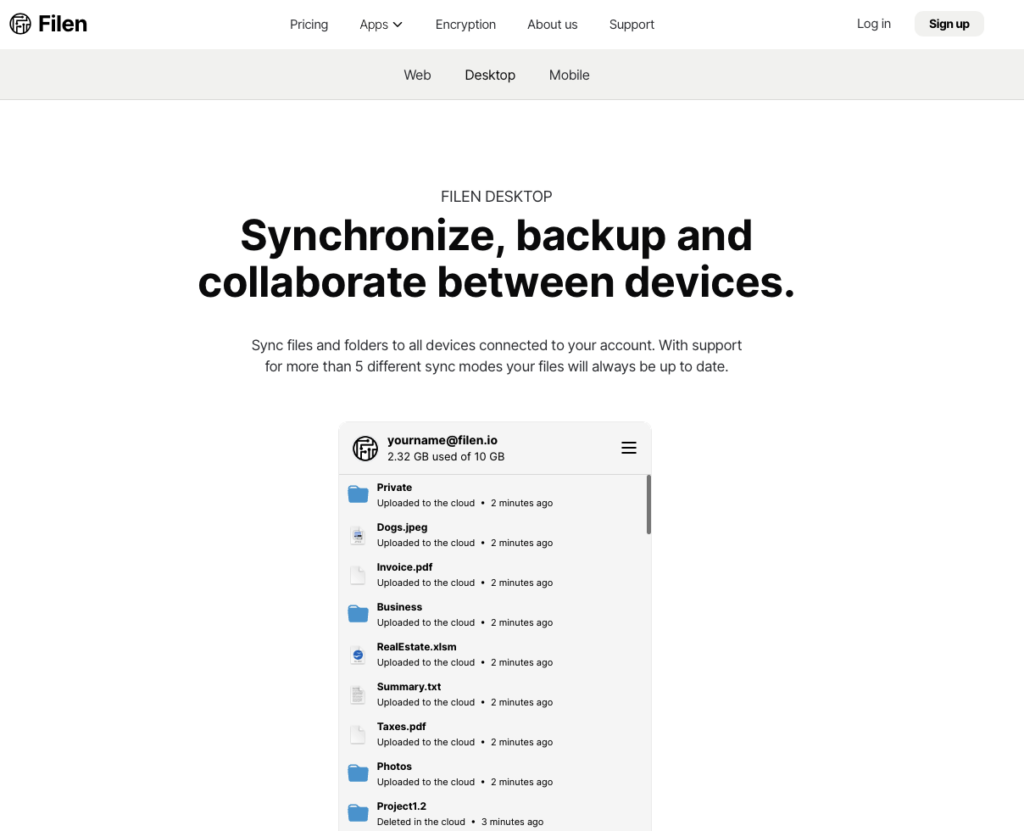
Go to their website

Head to their for Apps (the desktop app in this case)
Have a read, and if you like what you see, just click the link for the Mac app (in this case). But you can see Windows and Linux apps available too.
Now follow the wizard to get everything installed, which should take less than a minute.
You will need to set up an account and such, so take the time to do all that and make sure you note all your login details in your favourite password manager (or do we need to talk about password managers?).
The next part is the most technical aspect you are going to have to mess with. But this should be a one-time deal too. You have to tell Filen what you want to sync, where you intend to sync it, and what kind of sync. Filen essentially works like iCloud Drive. However, you have a sync option for ‘local backup’, this just means Filen will keep a copy of your data off-site, but it does keep
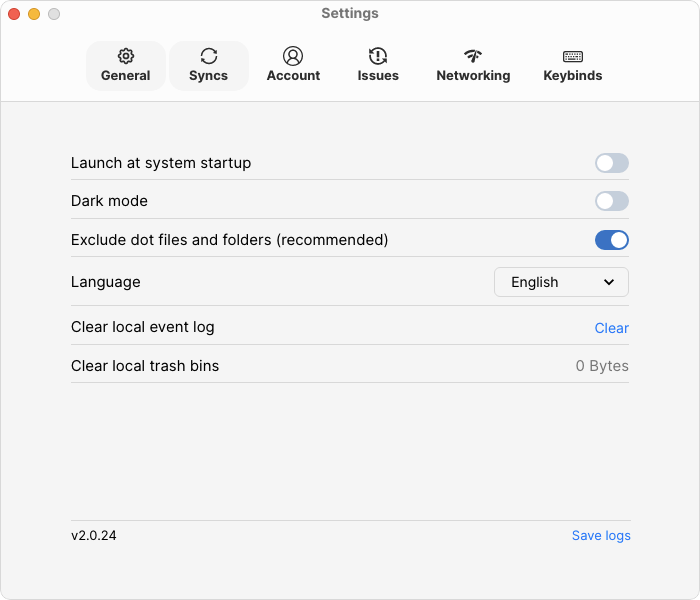
This is all done by running the Filen app.
Go into ‘settings’, then to ‘syncs’.
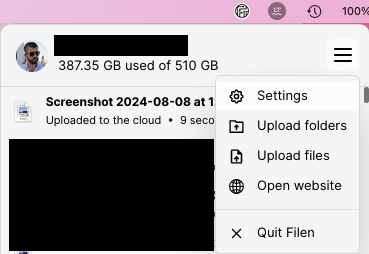
Then you need to ‘Create One’, which you see at the bottom of the box.
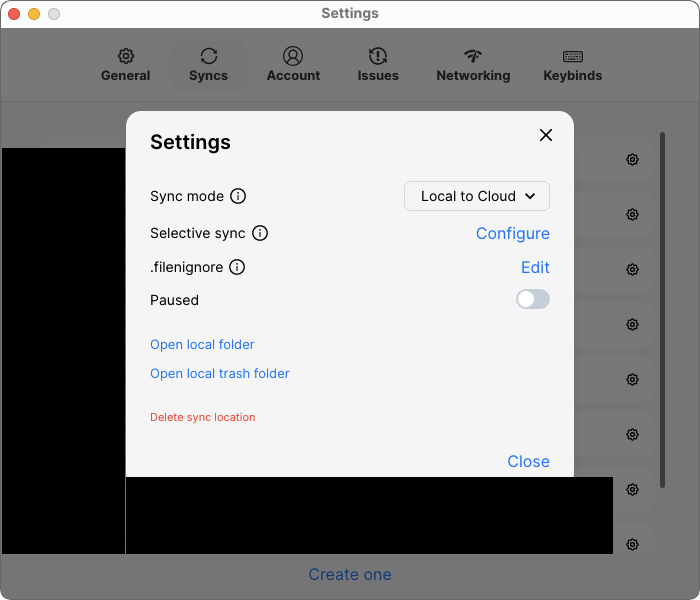
When you go to create a sync, it will ask you to select a local folder to back up. This is useful as maybe you do not need to back up your entire computer, possibly just certain folders. So here you can create one single backup or everything, or multiple smaller backups of specific folders. Your choice. In the previous image, you can see my preferred settings too.
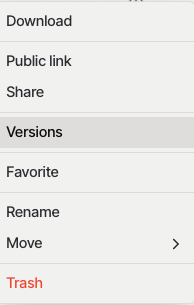
I do not treat this as a ‘sync’ service, not for sharing, just off-site backup. It comes on at startup, runs in the background, like iCloud, but the difference with iCloud is that there is a possibility to roll back to older versions. You need to log into the web interface to see all this and access them, but it’s a really useful feature to have if something has been changed mistakenly, gives you a chance to go back in time.
The main disadvantage of recovering from the off-site solution if the recovery is limited to the speed of your internet connection. So, with lots of data, and a slow connection, this could take a painfully long amount of time, but at least the data is not gone. Which is the whole point of all this.
That is my setup, other solutions may suit you better. Often, services you are subscribed too may already even offer similar solutions. All I can say, and urge, is that if you value anything on your devices, then have a backup plan in place. Occasionally, it can happen to you, be in a device being damaged or destroyed. Moreover, data centres have the same issues as any of us from fire, floods, and human error. Do not just rely on one solution if that data, or memories, are considered priceless to you.
Be excellent to each other.

Leave a Reply